I have created a Joomla! component as my project in the University. It is a Joomla! component which is capable of sending e-cards. I will share my experience with creating my component “SmartECards”. If you are new to Joomla!, checkout http://www.joomla.org. Download the latest version and install it using the installation guide (http://www.joomla.org/download.html).
This e-cards component is created for for Joomla! 1.5 series. This 1.5 series version of Joomla! support the MVC approach creating components. MVC stands for Model-View-Controller which is a well know design pattern when it comes to web development.
Actually Jooma! components are packed as a zip file which is installed from the admin console. We have to create the model, view and controller for the component and add an XML manifest file which tells about the component and how it should be installed etc. This is the standard way of installing a Joomla! components.
But when I was developing this component I used a shortcut way since I wanted to test the component after some functionality is added. Once the component is finished developing, we can pack accordingly to create the component archive file.
The initial step is to register the components to Joomla!. All the components installed in Joomla! has an entry in the Joomla! database.
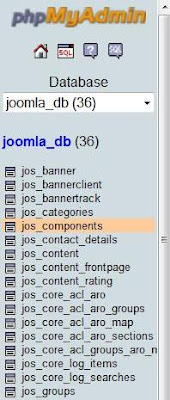
I’ll show the steps of creating a database entry using the phpmyadmin console. In the phpmyadmin select the database which you are using for the Joomla! installation. Tables in this database has the prefix “jos_” by default. If you have specified any other prefix during Joomla! installation, use that name instead of “jos_”. There will a table named “jos_components”. This is where the installed Joomla! components are registered.
Click on the insert tab and fill it as shown below.
name : SmartECards
link : com_smartecards
admin_menu_link: option=com_smartecards
option: com_smartecards
Keep the other fields with their default values.
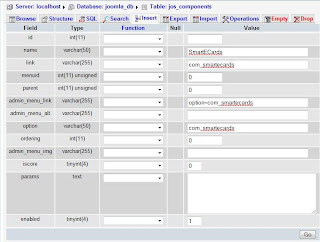
When you click “Go”, the entry will be created.
Now if you go to the Joomla! administrator’s page (/administrator/index.php?), you can see “SmartECards” listed under components.
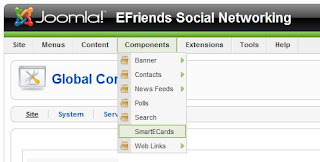
When you click on this, you will get a 404 error message. This is because we haven’t written the code to appear when it is clicked. If you have reached this place, everything is fine up to this point.
Relax a bit :)
I will continue from here in my next post.
